

China Glaze- Dandy Lyin' Around (shimmery white)
Sinful Colors- Endless Blue (bright blue crème)
Finger Paints- Pink Perspective (bright neon pink crème)
essence- Break Through (bright purple crème)
100% Acetone
Small Brush
The little cup is a glass ramekin I pour the acetone in. ( I bought it really cheap at a dollar store and use it only for this purpose.)
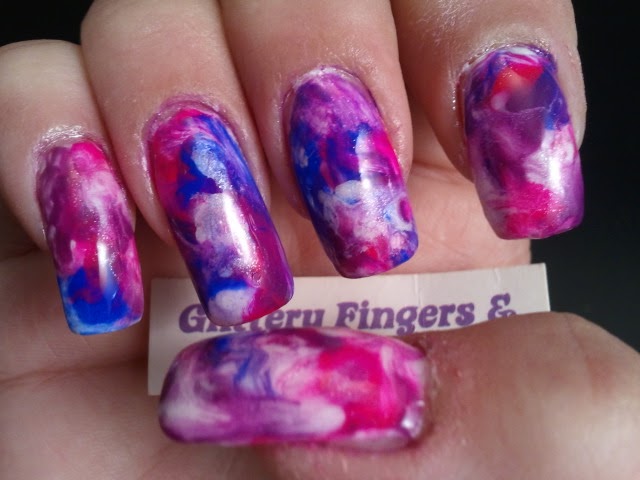
Ok, so I started out with two coats of China Glaze Dandy Lyin' Around, a beautiful, shimmery white. But any white polish will work. Neon really needs the white to make the colors pop.

Then line up the colors you've chosen. I picked a neon/bright purple, blue, pink, and since I wanted the white to show, I added the white. Open all the bottles. Neon dries really quick, so you'll have to do the next steps a little fast. Simply drop some of the nail polish colors on your nails, making them kind of thick/big:

(It has to be 100% acetone, but you can find it pretty cheaply at grocery stores)

Make sure you cover all of your base color. Once it has dried, top with top coat and you're done!


No comments:
Post a Comment