Hi Everyone!!
I just wanted to let you know that I haven't forgotten about you, but now my blog page isn't working. It won't let me post pictures, or do much of anything actually. I'm trying to fix it. So please check back, I have a lot of information, tips and manicures for you.
Happy Polishing!
Monday, August 20, 2012
Tuesday, August 14, 2012
Crazy Internet
Hi Everyone!
I am so sorry for a week of silence, but my house was hit by lightning! It took my internet out, along with the computer, dvrs and televisions. Nine days and countless phone calls and trips to town, everything is working again. So look tomorrow for new posts!!
Happy polishing!
I am so sorry for a week of silence, but my house was hit by lightning! It took my internet out, along with the computer, dvrs and televisions. Nine days and countless phone calls and trips to town, everything is working again. So look tomorrow for new posts!!
Happy polishing!
Monday, August 6, 2012
For Everyone With Artificial Nails
I know salons won't be happy with my saying this, but women with acrylic nails can polish their own nails! There is absolutely no reason for you to be stuck with the same polish for two weeks, or to pay someone to change your polish, unless you that's what you want. These posts are for you too!
 As I've said, I have acrylic over my natural nails (no tips). This is a recent development. I have a tendency to "jam" my hands...a lot! Right now I have two nails broken near the cuticle. Ouch!! So until I become more graceful, it's acrylic for me. Otherwise I have had natural nails for the last 14 years. And before that, I've gone back and forth between acrylic and natural. I even had a set when they first came out and were $100.00 for a full set. (I couldn't afford that all the time, so I eventually learned to do the acrylic myself.)
So for all my fellow "fake"' nailers, these tips, nail art designs and tips are for you too!! Unless I specify, the instructions are the exact same for both acrylic and natural nails. If they are different, there will be a note like this:
NOTE: For acrylic nails:
For natural nails:
So unless you see the above note, everyone does the exact same thing! And remember if you ever have any questions, you can leave a note in the comment section or email me at glitteryfingers@gmail.com.
Happy polishing!
To Acetone or Not To Acetone
The rules seem simple don't they? If you have natural nails, use acetone nail polish remover; if they are acrylic you have to use the non-acetone removers. I'm here to say, "Not true!"

Let me start by saying that I have acrylic over my natural nails, so you will know...this is what I do. Now for why that is not true. First, nail salons not only use acetone remover, they use 100% acetone on all types of nails. The second reason, non-acetone remover is weaker than water.
My recommendation: use the regular acetone nail polish remover regardless of what type of nails you have. Used normally (in other words, don't soak your nails in the remover), the acetone remover will not harm your artificial or natural nails. If you are concerned about the exposure to acetone, wear a latex glove on the hand holding the cotton with remover. So why do I have non-acetone remover? For removing glitter from my nails using the foil method (the directions are here).
I do suggest using a cuticle cream or oil and lotion on your hands after removing nail polish. All types of removers can be hard on our skin. Happy polishing!
Sunday, August 5, 2012
Orly Preamp
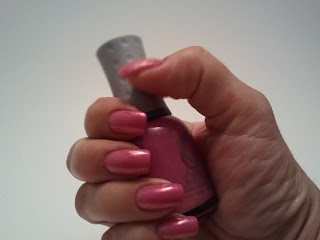
This is from one of Orly's newest collections, Electronica. The polish is called Preamp and is such a pretty pink. Although it is described by Orly as a bright purple with a gold shimmer, it actually looks pink in person. And I didn't really notice a "gold" shimmer to it, it looks more like very fine pink glitter. I love this polish! For me, it's just a perfect shade of pink. Or purple depending on the lighting. It went on very smoothly and was opaque in two coats. In a natural light:
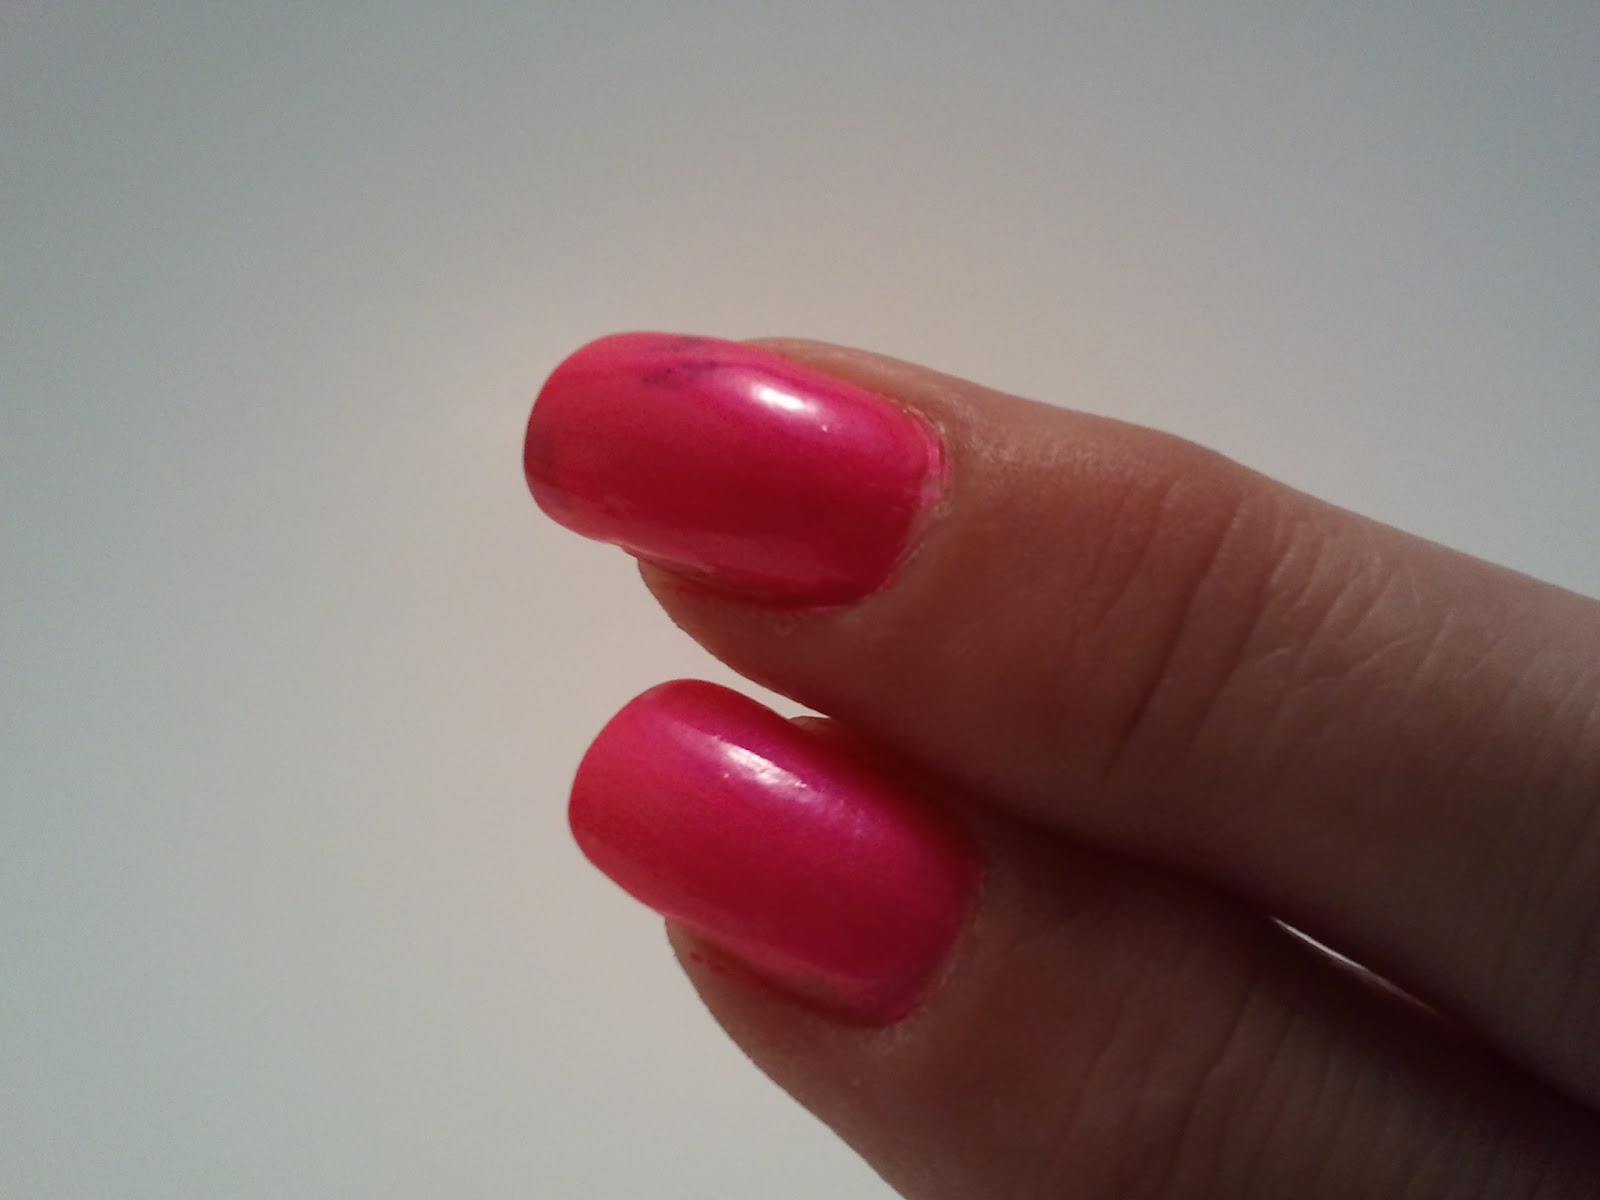
With light from above (this one shows the shimmer really well):


With light from above (this one shows the shimmer really well):

Triangle Tape Art
This is a fun and easy design. The polishes I used were:
China Glaze: Pink Voltage
Confetti: Black Tie
You will need: scotch tape, scissors and two colors of nail polish.

Start with two coats of the neon pink.

Cut a triangle out of a piece of tape. (Note: put the tape on the palm of your hand to remove some of the stickiness so it won't pull up your polish.) Place the tape on your nail with the tip of the tape near your cuticle. Then paint the entire nail black. Remove the tape as soon as your done so it won't pull the polish off.

Use a top coat and enjoy your design!

China Glaze: Pink Voltage
Confetti: Black Tie
You will need: scotch tape, scissors and two colors of nail polish.

Start with two coats of the neon pink.
Cut a triangle out of a piece of tape. (Note: put the tape on the palm of your hand to remove some of the stickiness so it won't pull up your polish.) Place the tape on your nail with the tip of the tape near your cuticle. Then paint the entire nail black. Remove the tape as soon as your done so it won't pull the polish off.

Use a top coat and enjoy your design!

Gradient / Ombre
Gradient, or ombre nails are extremely popular right now and very easy to do. For this manicure you"ll need two nail polishes and sponges. I use cheap make-up sponges that I cut into irregular shapes. This helps to give your manicure a more random look.
Of course you may use any color you want; these are the polishes I used:
Orly Preamp
Orly Mysterious Curse
Start with two coats of polish

Using the make-up sponges, dab on the second color 3/4 of the way on your nail, starting with the tip of your nail.

Then, sponge the second color 1/2 way up your nail from the tip.
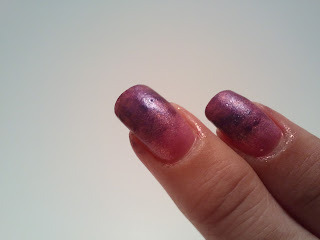
Starting at the tip, sponge the nail polish 1/4 of the way.

Add a top coat and you're done!


Of course you may use any color you want; these are the polishes I used:
Orly Preamp
Orly Mysterious Curse
 |

Using the make-up sponges, dab on the second color 3/4 of the way on your nail, starting with the tip of your nail.

Then, sponge the second color 1/2 way up your nail from the tip.

Starting at the tip, sponge the nail polish 1/4 of the way.

Add a top coat and you're done!


Saturday, August 4, 2012
About Me
I'm a wife and mom with a nail polish addiction! I love doing my nails...I find it so relaxing. I'm not a nail technician, I am 100% self taught. I wanted to create a blog/how-to for women with either artificial or natural nails. It doesn't matter which kind of nails you have, you can create fabulous nail art! It also doesn't matter if you are new to nail art or a pro, I give step by step directions for all of the designs. All of my designs, tips and tutorials may be used on both artificial (such as acrylic) or natural nails. If I can do this, anyone can! If you ever have any questions, please let me know! You may either leave a comment on a post, or send an email to glitteryfingers@gmail.com.
Happy polishing!
Happy polishing!
Subscribe to:
Posts (Atom)